Essentials For Raising Coturnix Quail Successfully
NOTE: This post may contain affiliate links.
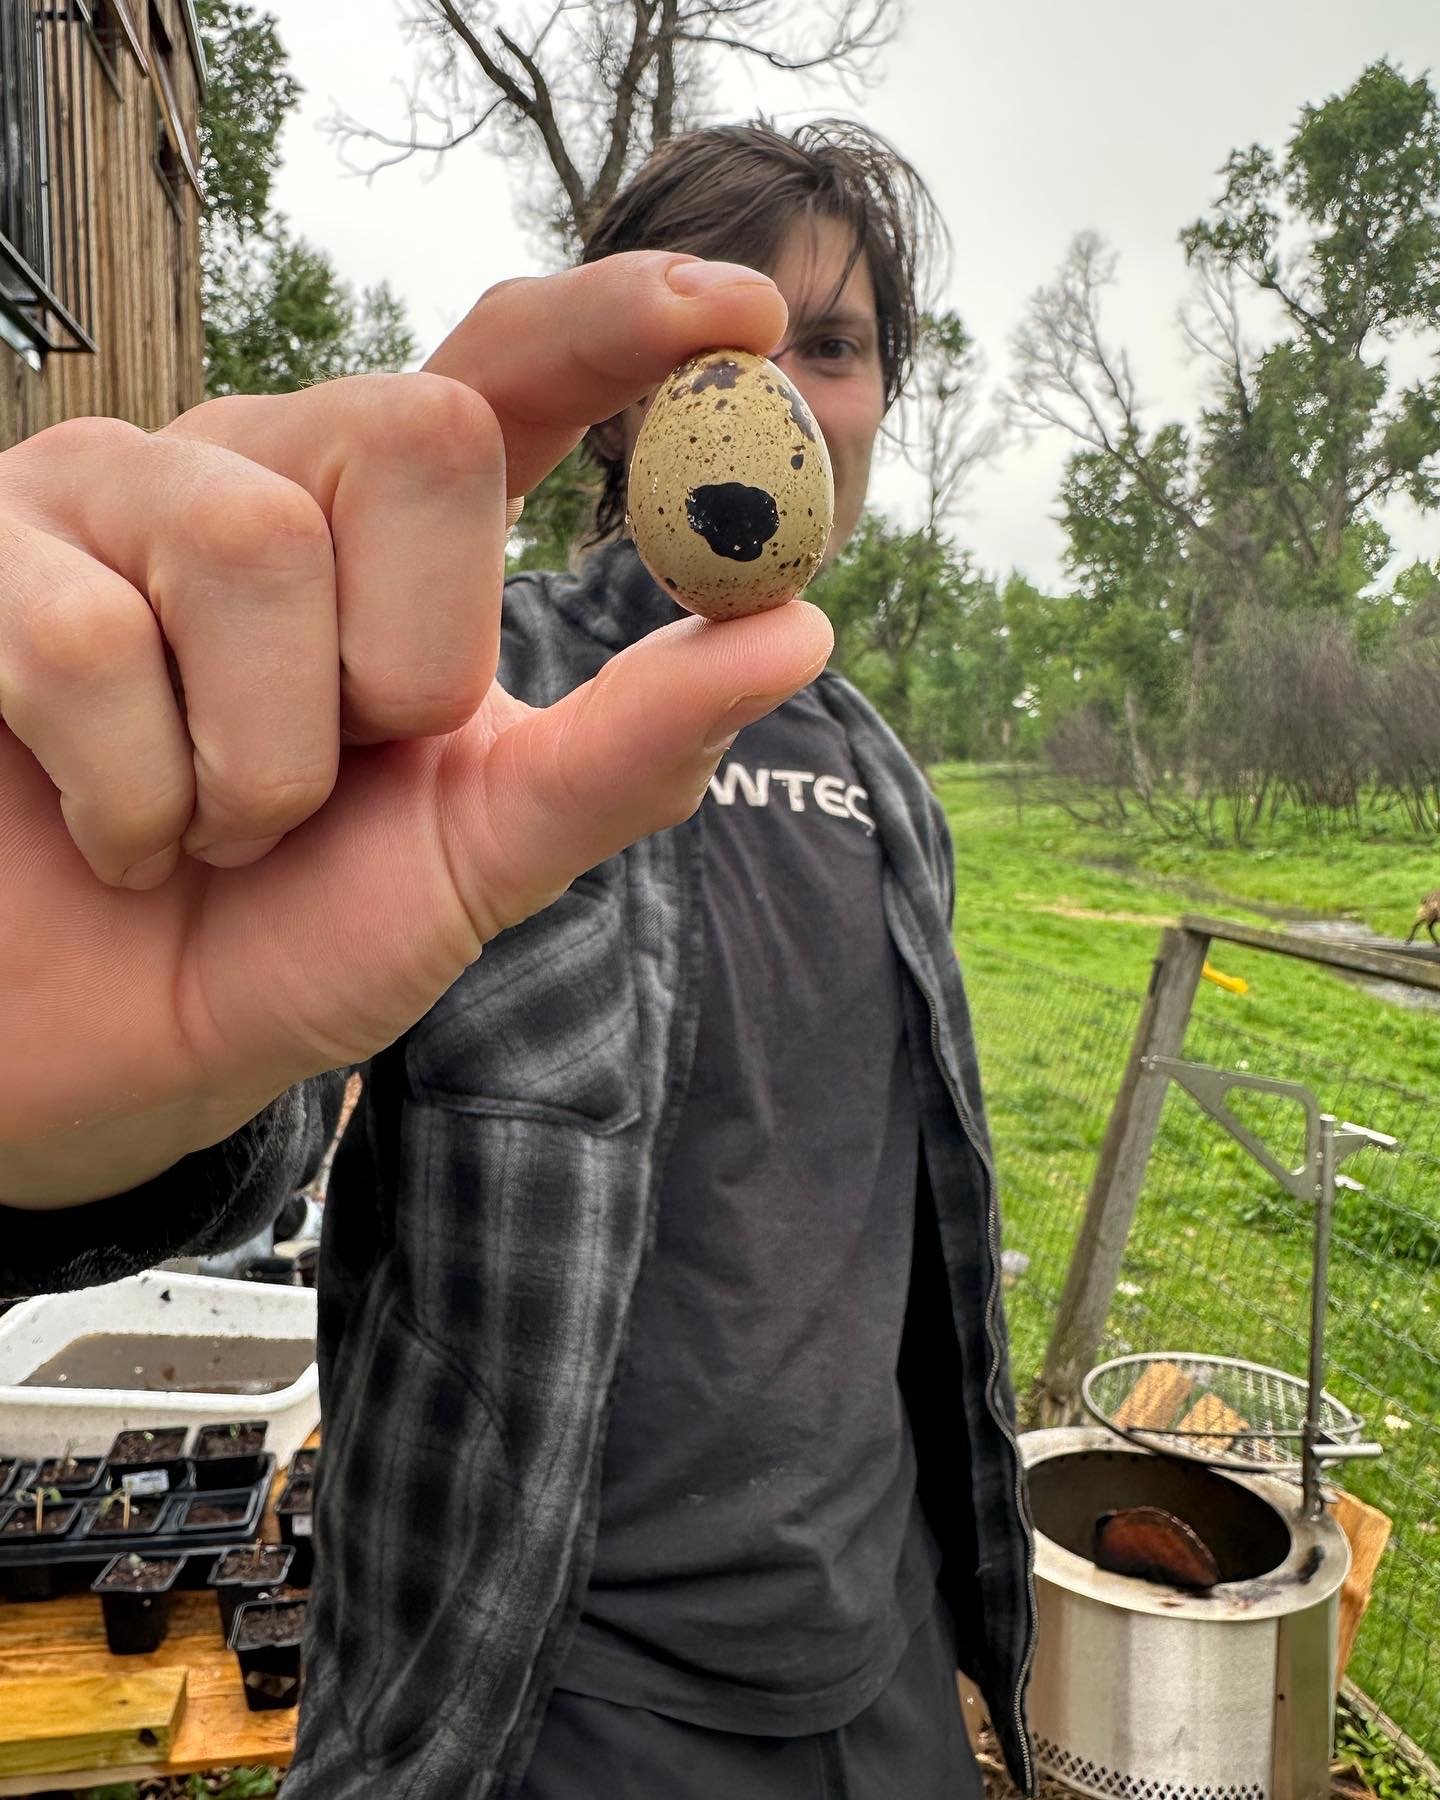
We went from knowing absolutely nothing about raising quail to our first egg in 8 weeks. Many, many more to come! In this post, I want to share some of the essential equipment that has made this possible.
The Eggs [from Myshire Farms]
We bought our eggs from Myshire Farms. They had to be preordered well ahead of time so consider that when planning to hatch your own eggs. But the nice part was that they had them sent straight to our doorstep. I was skeptical about shipping eggs, but they arrived in a thick foam piece with little holes to hold the individual eggs and almost all arrived in one piece. Sadly, two of them were slightly cracked and we had to remove them from the batch. A few more ended up being infertile when we candled them and about 50% of the fertile ones never hatched. We will try to buy from them again in the future if we have to. But the ultimate goal is to have fertile eggs from our birds going forward. Overall, I am happy with how things went ordering the eggs online!
Nurture Right 360 Incubator [Hatching Eggs Made Easy]
We use the Nurture Right 360 Incubator, a great budget-friendly option!
The incubator worked great for the price point! There are some really high end incubators out there but they were too professional for us and just didn’t seem worth the investment - our goal is to sustainably raise quail for meat and eggs on a budget. And this incubator fits the bill! It had a few hiccups, but again, some of that was probably user error on our end since it was the first time doing it.
Govee Hygrometer/Thermometer [Incubator Addon]
Check out the Govee Hygrometer/Thermometer with this link.
The Nurture Right 360 incubator works great for the price, but I highly recommend having a second way to measure temperature and humidity which need to be dialed in during the entire hatching process. The Nurture Right incubator has both a humidity and temperature reader as well as a way for you to adjust the temperature and humidity based on the readings. We had no issues with the temperature reader, but the built-in humidity gauge was off in our case. So it was good to have the Govee as a backup in there. By having a second way to gauge humidity and temperature you can confirm if the incubator is working properly. From there you can adjust the temperature and humidity levels to simulate the perfect hatching environment.
Quail Egg Tray [Incubator Addon]
Check out the recommended quail tray for the automatic egg turner with this link.
One of my favorite things about this incubator is its built-in egg-turner. Such a time saver!!! Quail eggs need to be turned at least 3 times a day to ensure that the membranes inside the eggs form properly. Otherwise, your hatch rate will be lower. Not all incubators do the egg-turning for you. And the Nurture Right 360 had no issues with this.
However, I do recommend getting an egg tray insert specifically sized for quail eggs. Out of the box, the Nurture Right 360 is intended for hatching chickens. With the quail egg insert you can fit way more eggs in the incubator at once. And it also ensures that the eggs can be turned properly. We decided to save on this for our first go. But I wish I would’ve bought it because it impacted our hatch rate negatively. I have one now for round two.

Supplemental Heat Source
You are going to need a supplemental heat source for the newly hatched quail chicks and also for your adult birds (more so if you are keeping your adults in a cold climate like we are in Montana).
These heat light bulbs. worked great for our quail chicks.
You want the area under the heat lamp to be at about 95-100 degrees (f) during the first week after they hatch. Then reduce 5 degrees each week thereafter until 6 weeks when they are fully feathered.
Many people also like to use a heating plate as a supplemental heat source. We decided to try the lamps but might go with one in the future.
I have heard great things about this heat plate from others.
Quail Egg Scissors [The Gamechanger You Didn’t Think You’d Need]
We LOVVVVEEE these quail egg scissors!
Probably one of the most essential tools for anyone who raises quail and wants to eat the eggs… These special egg scissors will allow you to cut through the hard quail eggs. Not having one of these will make it tough to open the eggs without damaging the yolks. So invest in some and make your life a lot easier.
NO WASTE FEEDER
If you are up for an easy DIY project, I highly highly suggest making yourself a No Mess / Waste Feeder. Simply use a bucket or small organizer box and cut holes to fit these special feeder heads.
We have been losing WAY less food since doing this. It's been great! Here is a video to see what our set up looks like.
I hope you learned something new from this post and are inspired to start your own quai raising journey.
Check out the Year of Plenty podcast, where my guests and I discuss everything real food and how it comes to our table. Topics include food self sufficiency, wild foods, homesteading, traditional food ways, nutrition and more.
You can also sign up to the FREE newsletter to get monthly knowledge around these topics straight to your email inbox.
I only endorse things we would personally use or are recommended by trusted peers. If you decide to grab any of the items with our referral links, I may make a small commission. There is no extra cost to you when using these links. As an Amazon Associate, I earn from qualifying purchases.